
How to Install Laminate Flooring: A Step-by-Step DIY Guide for Beginners
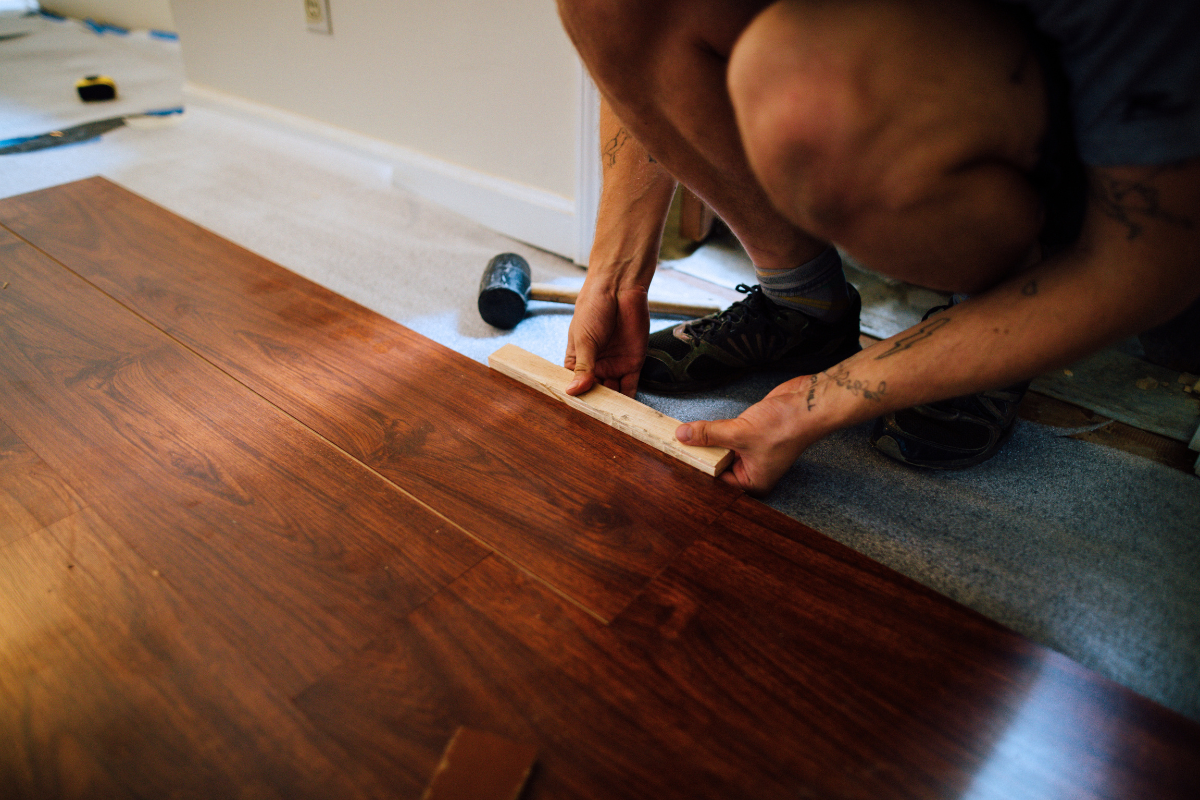
Installing laminate flooring is easier than many people expect. This step-by-step DIY guide explains exactly how to install laminate flooring, from preparing the subfloor to fitting the final row, so you can confidently complete your DIY laminate project without relying on a video tutorial.
Before You Start: Choose the Right Laminate and Let It Acclimatise
Choosing the right product and preparing it correctly will make your installation easier and help your floor last longer.
Before you begin, choose laminate that's suitable for the room. The different types of laminate vary in durability, thickness, water resistance and appearance, so select the right laminate for your lifestyle and budget.
Once you've purchased your new laminate, leave the unopened packs in the room where your new flooring will be installed for at least 48 hours. This allows the boards to acclimatise to the room's temperature and humidity before installation.
This step is important because laminate expands and contracts with temperature and humidity changes. Since flooring expands and contracts, letting the boards settle first helps them expand and contract naturally after installation and reduces the chance of gaps or buckling later.
Tools and Materials You'll Need
Having the right tools before you start makes the installation quicker, cleaner and more accurate.
Gather these tools and materials before you begin:
- Underlay or underlayment
- Spacer wedges or spacers to maintain the correct gap
- Tape measure to measure the gap
- Pencil and straight edge
- Laminate cutter
- Jigsaw to cut with a jigsaw around obstacles
- Tapping block
- Pull bar so you can use a pull bar against walls
- Rubber mallet or use a hammer with the tapping block
Step 1: Prepare the Subfloor
A clean, level foundation is essential for a professional-looking floor that lasts.
Before you lay the floor, prepare the subfloor thoroughly.
- Remove any existing floor coverings if required.
- Sweep and vacuum the entire surface.
- Repair uneven areas using a compound to fill dips and cracks.
- Make sure the subfloor is dry, solid and level.
- Roll the underlay across the subfloor, ensuring each sheet sits flat without overlapping.
Proper preparation creates a stable base for your floating floor and helps reduce movement and noise.
Step 2: Plan the Layout Before You Lay the First Plank
Planning your layout now helps avoid awkward cuts and creates a more balanced-looking floor.
Before installing your first board, decide which direction the laminate floor will run. In most rooms, it's best to start along the longest wall.
Place spacers between the wall and the flooring to create an expansion gap around the room. This gap allows the flooring to allow for expansion because laminate expands and contracts slightly over time.
Check your measurements before you begin. If the final row will be extremely narrow, adjust the width of the first row so the finished floor looks more balanced.
Step 3: Install the First Row
Getting the first row perfectly straight makes every row that follows much easier to install.
Follow these steps to install the first row:
- Start in a corner along the longest wall.
- Position your spacer wedges against the wall.
- Lay the first plank with the tongue and groove facing the correct direction.
- Continue joining each laminate plank to complete the first row.
- Check that the row remains perfectly straight before moving on.
Remember to leave an expansion gap around the entire perimeter and around the perimeter of the room. This space allows the flooring to move naturally after installation.
Step 4: Start the Second Row and Continue Across the Room
Staggering the joints creates a stronger floor and gives the installation a more natural appearance.
To start the second row, cut the first board if necessary so you can stagger the joints.
Continue installing each new row by following these steps:
- Angle the board into the edge of the previous row.
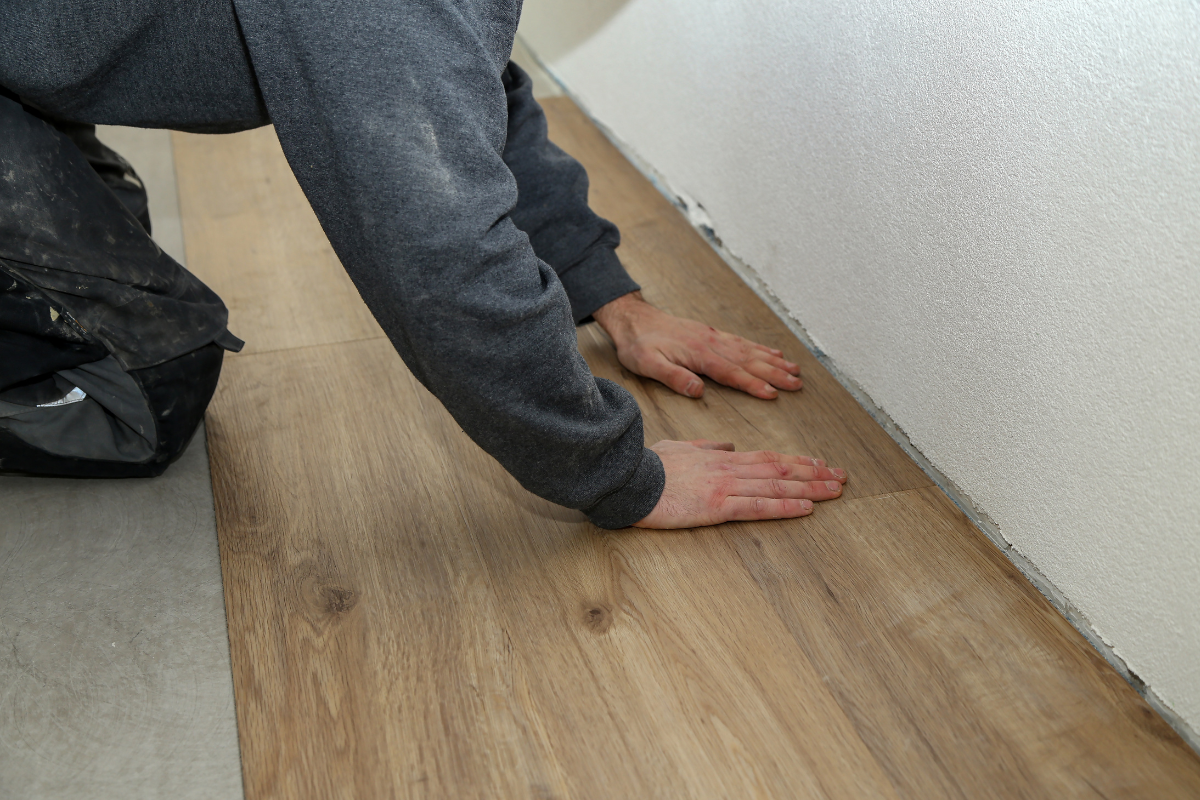
- Lock the laminate planks together.
- Use the tapping block where needed for a tight fit.
- Use a pull bar whenever you're working close to a wall.
- Complete the second row, then repeat the process for each row of laminate.
As you continue laying laminate flooring, regularly check that the rows remain straight and securely connected.
Step 5: Cut Around Door Frames and Install the Final Row
Careful measuring and cutting will give your floor a clean, professional finish.
When you reach a door frame, mark each board carefully and cut with a jigsaw for an accurate fit.
For the final row:
- Measure the gap between the previous row and the wall.
- Cut each board to the correct width.
- Fit the boards into place using the pull bar.
- Remove the spacers once installation is complete.
Avoid filling the expansion space. The expansion gap around the room must remain clear so the flooring can continue to move as it responds to seasonal changes.
Common Mistakes to Avoid During Laminate Flooring Installation
Most installation problems can be prevented by following the correct process and avoiding a few common DIY errors.
Skipping the acclimatisation period
Installing boards immediately after delivery increases the risk of movement later. Always acclimatise your flooring before installation.
Not preparing the subfloor properly
An uneven or dirty surface can cause movement, squeaking and visible imperfections. Always prepare the floor and prepare the subfloor before laying boards.
Forgetting the expansion gap
One of the biggest common mistakes is failing to leave an expansion gap at the edges of the room. Since the flooring expands and contracts, this space is essential.
Forgetting to stagger the joints
Installing every board in line weakens the floor and looks unnatural. Always stagger the joints as you move from one row to the next.
Using the wrong tools
Avoid hitting boards directly. Instead, use a tapping block, pull bar, or laminate cutter to protect the locking system and achieve tighter joins.
Following these tips and common mistakes will help you complete a successful laminate flooring installation that looks professional and performs well for years to come.

Related articles

Blog title heading will go here
Blog title heading will go here